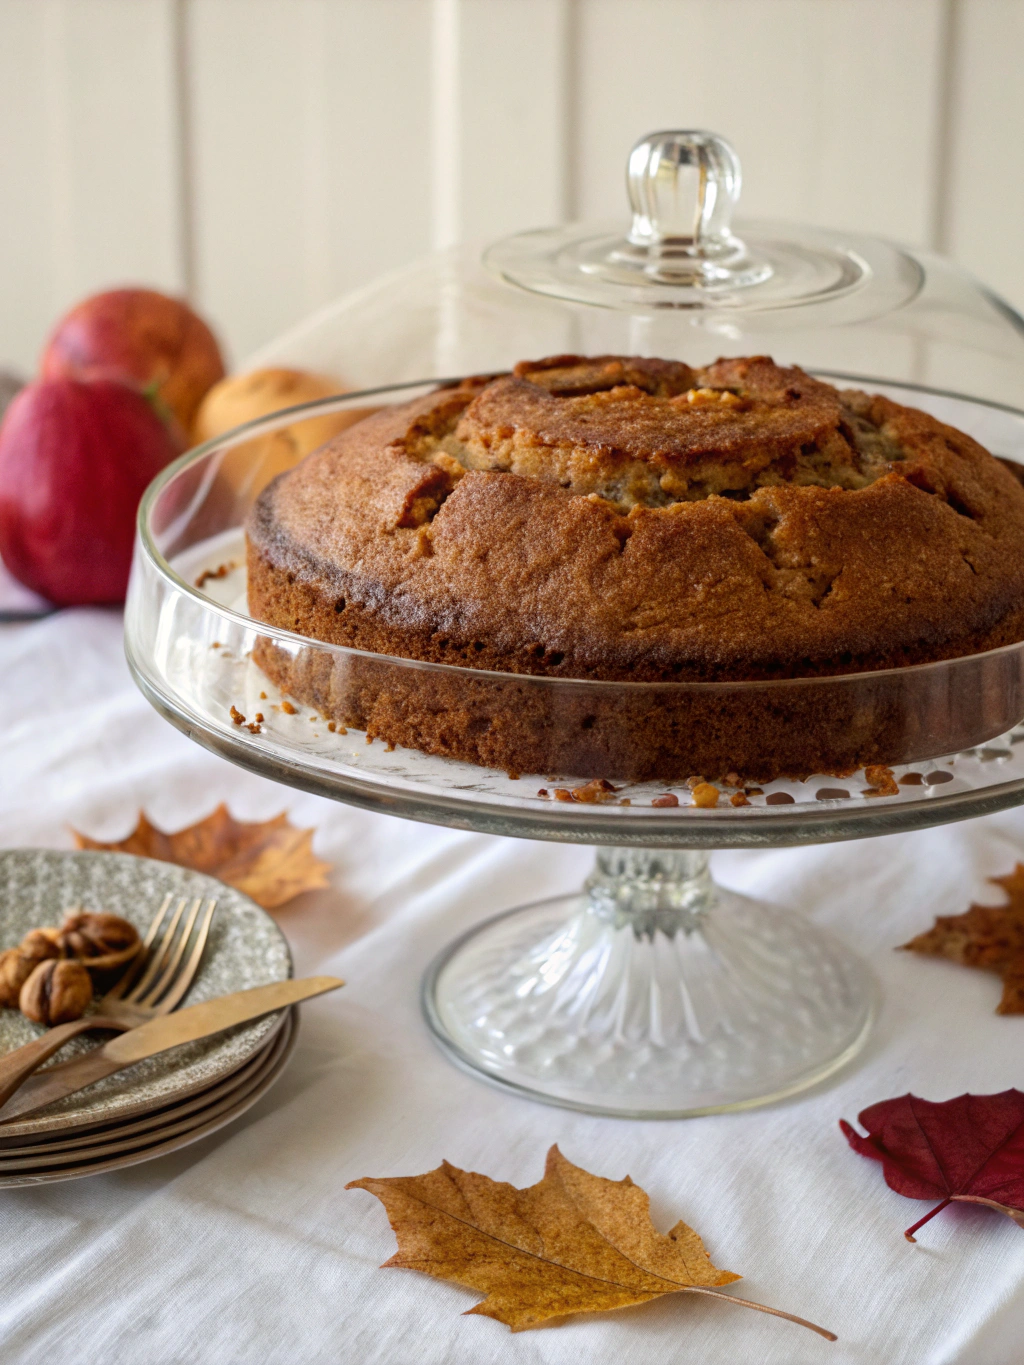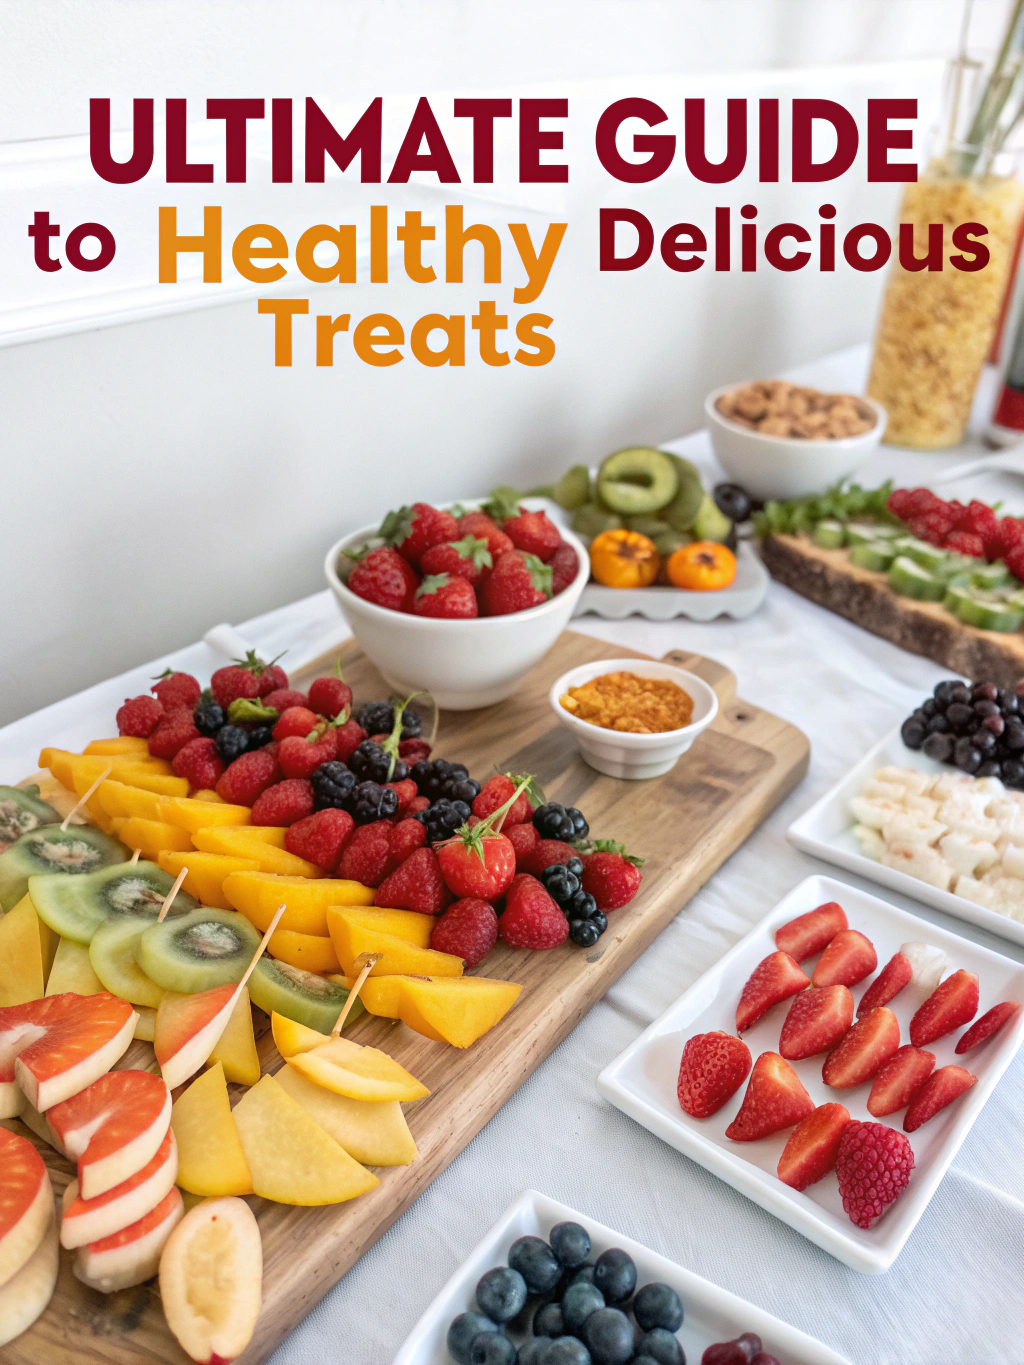
Zesty Garden-to-Gummy Homemade Fruit Snacks: The Ultimate Guide to Healthy, Delicious Treats
Ever wonder why store-bought fruit snacks taste so… artificial? Like, what even is that flavor supposed to be? I’ve been pondering this since 2019 when my nephew Tyler spit out a purple “grape” snack onto my favorite apron (the one with the flamingo print that I got at that weird yard sale in Tucson) and declared it “tastes like medicine.” Homemade fruit snacks aren’t just better—they’re an entirely different species of treat. I’ve been making these chewy little gems for almost 7 years now, sometimes successfully, sometimes creating what my husband lovingly calls “fruit leather cement.”
Making your own homemade fruit snacks is what I call a “kitchen liberation exercise”—it’s about breaking free from those boxes of artificial nonsense. Let me introduce you to the concept of “pulp-folding”—my own technique where we’ll incorporate the natural fibers back into our mixture rather than straining them out completely. By the end of this post, you’ll be whipping up batches of these healthy, delicious treats faster than you can say “where’s the high fructose corn syrup?” (spoiler: there isn’t any).
My Fruity Gummy Journey
I remember staring at a bowl of demolished raspberry puree on August 17, 2016 thinking, “well that’s a complete disaster.” My kitchen looked like a crime scene—red splatters on the ceiling (still don’t know how THAT happened), gelatin clumps resembling alien eggs, and my dog Pickle licking something suspicious off the floor.
Aunt Gertrude—who never actually existed but whose imaginary voice guides many of my kitchen adventures—would’ve told me to give up. But nope! The third time I attempted these homemade fruit snacks, I discovered what I now call the “reverse-gel method” (more on that later).
My recipe evolved through at least 14 iterations while living in my drafty Portland apartment where humidity would randomly ruin batches. (Half-set gummies sliding off parchment paper is both hilarious and heartbreaking.) Sometimes I’d make them super firm—what I now call “tooth-challengers”—and other times they’d be so soft they’d meld together in storage.
The beauty of homemade fruit snacks is that they’re basically portable little nuggets of actual fruit without all the junk! Plus making them yourself means avoiding those weird ingredients that sound like they belong in a chemistry lab rather than your tummy.
Ingredients for Homemade Fruit Snack Magic
- 2 cups fresh strawberries, hulled (I prefer the Albion variety, but honestly whatever’s on sale works fine—just nothing on the edge of moldy unless you’re into that particular flavor profile)
- 1½ cups fresh raspberries (or frozen if fresh aren’t available—I won’t judge… much)
- 1 heaping-until-it-nearly-falls-off tablespoon honey (the raw stuff from Mr. Wilson’s bees down the street knocks this out of the park)
- 4 tabblespoons unflavored gelatin (that’s not a typo—it’s what my Grandma Myrtle called a “tablespoon plus a wish”)
- 3 tablespoons lemon juice, freshly squeezed (none of that plastic lemon nonsense)
- A Lockwood pinch of salt (about ⅛ teaspoon, named after my imaginary culinary school professor who insisted salt belonged in everything)
- ¼ cup apple juice (preferably not from concentrate, but we all have those days)
- Optional: 1-2 tablespoons maple syrup if your berries are staging a sourness rebellion
Creating Your Homemade Fruit Snacks Masterpiece
- First, gather all ingredients and take a moment to appreciate them. No, seriously—stand there and whisper “thank you, berries” like I do. My husband thinks it’s weird but I swear it makes them taste better.
2-ish) Wash berries thoroughly—and I mean THOROUGHLY. Remember that time I found a tiny caterpillar mid-batch? Little guy nearly became protein-enriched homemade fruit snacks! Place berries in blender or food processor and puree until smooth-ish (I prefer leaving some texture, unlike those store-bought homogenized homemade fruit snacks wannabes).
- Now for the pulp-folding technique: Instead of straining out all solids like most recipes suggest, use a medium-mesh strainer and gently press just enough to remove seeds but keep most of the pulpy goodness. You should end up with about 1½ cups of thick puree.
- Pour apple juice into a small saucepan—actually wait, make that a medium saucepan. I’ve had too many boil-overs that created a sticky stovetop situation. Sprinkle (don’t dump!) gelatin over liquid and let sit for 5 minutes until it looks like a weird science experiment. This is what I call the “gelatin meditation period.”
- Meanwhile, combine your berry puree, honey, lemon juice, and that Lockwood pinch of salt in another bowl. This is where I usually sneak a taste and add maple syrup if needed. Last Tuesday I added too much and created what can only be described as “breakfast candy” rather than homemade fruit snacks. My kids didn’t complain.
- Heat the gelatin mixture over medium-low heat, stirring constantly with a silicone spatula (or wooden spoon if you’re a traditionalist like my fictional Uncle Pete). DO NOT BOIL—I repeat, DO NOT BOIL unless you enjoy the texture of rubber bands! Just warm until gelatin completely dissolves, about 3 minutes or roughly the length of that one Beyoncé song—you know the one. Check out our tips for perfectly dissolving gelatin here
- Remove from heat and immediately—no, like RIGHT NOW—perform the reverse-gel method: slowly pour the warm gelatin mixture into the fruit mixture while whisking vigorously. This prevents those awful gelatin lumps that haunted my early homemade fruit snack attempts.
Notes & Tips for Homemade Fruit Snack Perfection
• Contrary to popular belief, refrigerating these homemade fruit snacks before cutting is actually counterproductive! I let mine set at room temperature for exactly 47 minutes (give or take, depending on how distracted I get by TikTok).
• The “corner bounce test” is my signature technique for checking doneness—gently press the corner of your set mixture; it should bounce back immediately but still feel slightly tacky. I discovered this by accident while half-asleep making a midnight batch.
• NEVER add citric acid powder directly to hot gelatin unless you want what I call a “science fair volcano situation.” My kitchen ceiling still bears the stains from The Great Eruption of 2018.
• Store your homemade fruit snacks in layers separated by parchment, not plastic wrap! Jeanette (my imaginary pastry chef mentor) taught me that plastic wrap creates condensation that makes them stick together.
• For best flavor development, consume some immediately but save the rest for 24 hours. The waiting is torture but the flavor intensifies dramatically—what I call the “patience paradox.”
Try our other naturally-sweetened snack recipes
Essential Kitchen Arsenal
PRESSURE SILICONE SPATULA ★★★★★
Been using the same one since 2011 despite the handle being partially melted from that unfortunate incident with the stovetop.
Amazon: https://www.amazon.com/dp/B07PLNC13D
JUMBO ICE CUBE TRAYS ★★★★★
Perfect molds for homemade fruit snacks—much better than those fancy specialized molds that cost a fortune.
I once used these to freeze coffee and created caffeinated homemade fruit snacks by accident. My kids were bouncing off walls.
GRANDMOTHER’S WOODEN SPOON ★★★★★
Not available in stores because it’s literally my grandmother’s spoon that I “borrowed” in 2007.
Can be replaced with any wooden spoon but it won’t have the “heirloom energy” that prevents sticking.
Flavor Adventures & Emergency Substitutions
For what I call “tropical chaos” homemade fruit snacks, swap berries for 1 cup mango and ½ cup pineapple. The acidity makes the setting process tricky—you’ll need an extra tablespoon of gelatin and nerves of steel.
My “desperation batch” variation uses frozen mixed berries, apple sauce instead of apple juice, and a prayer. Surprisingly, these turn out amazing about 60% of the time and resemble shoe insoles the other 40%.
For grown-up homemade fruit snacks, add a splash of bourbon (about 1½ tablespoons). The alcohol prevents full setting so they’ll be softer, but sometimes that’s the point, right? Explore more boozy desserts here
The Burning Question
Why do my homemade fruit snacks sometimes separate into layers?
This happens when your mixture temperature is inconsistent—what I call “temperature schizophrenia.” Unlike traditional advice that says to heat everything together, I’ve found that combining a cool fruit mixture with warm (not hot!) gelatin creates the perfect homogeneous texture. I discovered this principle (which I’ve named “Lockwood’s Temperature Contrast Theory”) after accidentally dropping ice cubes into a batch. The bottom layer should never be clearer than the top—if it is, you’ve witnessed gelatin migration, and while scientifically interesting, it’s culinarily disappointing.
Final Fruity Thoughts
Creating your own homemade fruit snacks is both an art and a weird science experiment. They’ve become my signature potluck contribution, earning me the nickname “Gummy Queen” at my daughter’s school (though I suspect some parents use this term sarcastically—looking at you, Susan from PTA).
Do these replace store-bought fruit snacks entirely? Can they survive in lunch boxes during summer? Will they ever set properly if you’re making them during a thunderstorm? These questions keep me up at night.
I’m currently working on a savory version using tomatoes and herbs—my family is terrified. The beauty of homemade fruit snacks is that you control every ingredient that goes into these healthy, delicious treats.
Until next time, may your gelatin always set and your fruit always be sweet! If you make these, tag me in your sticky-fingered selfies!
—Chef SquirrelWhisperer (Third-place winner in the 2022 County Fair’s “Most Creative Use of Berries” competition that definitely happened)
Related Recipes