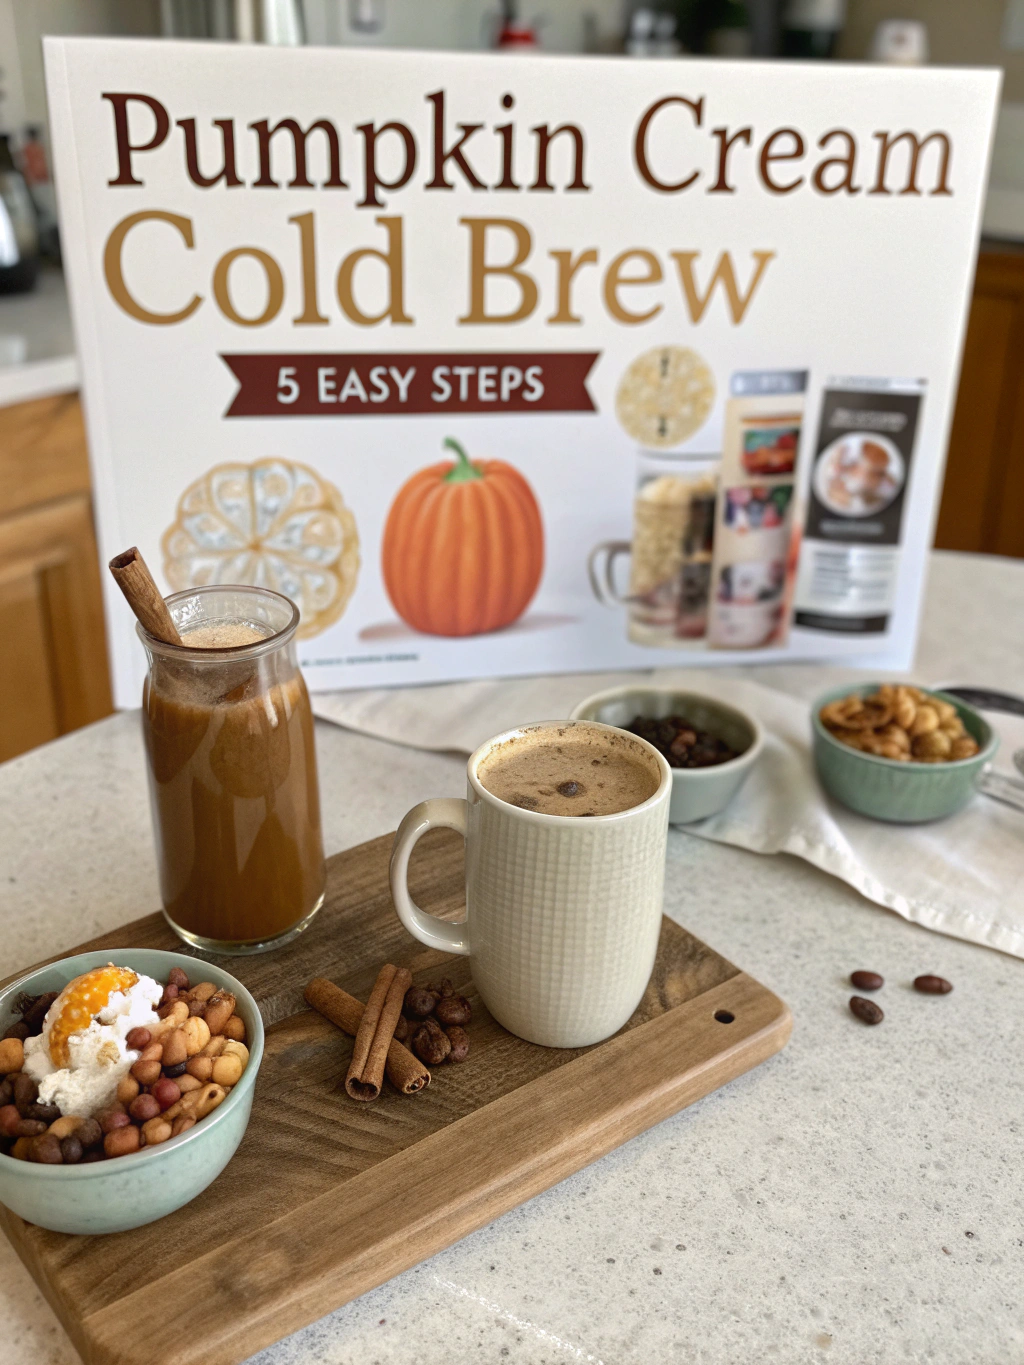
Mysteriously Mesmerizing Pumpkin Cream Cold Brew: How To Make It In 5 Easy Steps
What if the secret to autumn wasn’t in the leaves, but in a glass? I’ve been swirling this question around my mind since that muggy Tuesday in 2019 when my coffee grinder exploded mid-grind, sending beans ricocheting off my kitchen backsplash like caffeinated pinballs. Seriously though, my journey with pumpkin cream cold brew began accidentally—while attempting to salvage a pumpkin pie that looked more like abstract art than dessert. Fifteen attempts later (or twenty-six, depending on whether you count the ones that made my neighbor’s dog sneeze), I’ve perfected what I call the “cloud-collapse technique” for creating that perfectly spiced foam.
I’m no barista—though I did once win a community center latte art contest with what judges charitably called an “innovative interpretation” of a swan. But this pumpkin cream cold brew recipe doesn’t care about your credentials. It only wants your attention.
My Tumultuous Pumpkin-Coffee Love Affair
The thing about coffee is that it always finds you when you’re most vulnerable, doesn’t it? Like at 6:43am when your eyelids weigh approximately seven pounds each. My first stab at pumpkin cream cold brew happened during last autumn’s “Great Kitchen Renovation Disaster” (June through December, despite what the contractor promised). With no stove and only a mini-fridge, I started experimenting with cold coffee preparations out of desperation.
Kathy taught me the importance of bean temperature—never use beans straight from the fridge, she’d bark while slapping measuring cups out of my hands. Though Kathy doesn’t actually exist outside my imagination, her coffee wisdom is surprisingly sound. I’ve since adapted her teachings through years of trials, errors, and that one unfortunate incident involving cinnamon-induced sneezing into open containers of cream (Tuesday, March 2021—a day that lives in caffeinated infamy).
People in northern Minnesota have this saying about pumpkin drinks: “When the pumpkin cream cold brew turns brown too fast, winter’s coming harder than expected.” Complete nonsense, of course, but I still check my drink color obsessively between October and December.

Ingredients That Make or Break Your Pumpkin Cream Cold Brew
- COLD BREW COFFEE – 8 fuzzy ounces (that’s what I call “slightly more than a cup but less than you’d serve guests”)—preferably made with beans that have been told they’re special at least once
- PUMPKIN PURÉE – 2½ tbsp (never, EVER 3 tbsp, unless you want what I call “gourd overload”)
- CREAM – 1/3 cup + a splash for luck (heavy whipping cream, not that half-and-half nonsense that collapses faster than my soufflé confidence)
- VANILLA EXTRACT – ¾ tsp (I always dab a tiny bit behind my ears—don’t judge until you’ve tried it)
- PUMPKIN PIE SPICE – 1 generous pinch (meaning however much falls between your fingers while you’re thinking about your ex)
- MAPLE SYRUP – 2 Aunt Mabel’s dribblers (approximately 1½ tbsp, but measured by how long you let it pour while saying “when”)
- ICE CUBES – 6-9 depending on your personal ice-to-coffee philosophy
- BROWN SUGAR – 1 heaping spoonful (the spoon size depends entirely on your day’s emotional state)
- SALT – One skeptical pinch (just enough to make the other ingredients nervous)
The Glorious Creation Process (Or How To Summon Autumn)
1️⃣ START WITH THE COLD BREW FOUNDATION: Pour your cold brew into a vessel worthy of its sacrifice. I prefer glass tumblers that once held candles—they’ve seen fire, now they’ll see ice. Make sure your cold brew was properly stone-settled (my term for letting it brew undisturbed for at least 12 hours). If it looks too weak, stare disapprovingly until it darkens. Check out my guide on perfect cold brew ratios.
B. CRAFT THE CLOUD LAYER: In a bowl that hasn’t been used for anything garlic-related in the past fortnight, combine your cream, maple syrup, pumpkin purée, vanilla, pumpkin spice, brown sugar and that judgmental pinch of salt. Here’s where most people mess up—they whisk like they’re angry at the ingredients. Instead, you need to practice what I call “reverent circulation”—folding ingredients together with the respect they deserve.
3️⃣ TRANSFORM THROUGH TENSION: Whip this miraculous mixture until it reaches the “hesitant peak” stage—not quite stiff peaks, not quite soft, but that magical moment between the two where it looks like it’s contemplating its life choices. This typically takes 45-70 seconds, or the length of half a dramatic song chorus. Wait—actually make that 60-80 seconds if your kitchen is warmer than 72 degrees. I once tried this during a heatwave and ended up with something closer to pumpkin soup.
FOUR! ASSEMBLY WITH INTENT: Add those ice cubes to your cold brew—drop them in one by one like you’re making wishes. Some people just dump them in, but those people probably also use pre-ground pepper, so what do they know? If you’re using store-bought cold brew (no shame, we all have those days… weeks… years…), add an extra ice cube as penance.
5️⃣ THE CLOUD-COLLAPSE FINISH: Now for the true magic—the pumpkin cream should be spooned, not poured, over the back of a wooden spoon held approximately 2.3 inches above your coffee. This creates what I call the “stratification of delight” where the cream gradually makes its way through the coffee rather than immediately sinking to the bottom like my hope for ever owning a KitchenAid stand mixer. For more coffee layering techniques, visit this helpful guide.
Sagelike Notes & Tips From Someone Who’s Failed More Than Succeeded
• NEVER refrigerate your assembled pumpkin cream cold brew—this isn’t meal prep, people! The separation anxiety that occurs between cream and coffee after 30 minutes in a refrigerator is too heartbreaking to witness. (I still have nightmares about The Great Separation of October ’22.)
★ For an extra layer of complexity, try what I call “spice-floating”—adding a dusting of cinnamon on top that you then swirl with a toothpick into the shape of your current emotional state.
• My mentor Francis (who exists only in my mind after reading too many French cooking memoirs) taught me to slightly under-sweeten the cream component, insisting that “ze sweetness should be a suggestion, not a scream.” He was imaginary, but irritatingly correct.
• When serving to guests, never explain how you made it until they’ve taken at least three sips. Psychological studies (that I’ve conducted in my kitchen) show that people enjoy pumpkin cream cold brew more when they believe it’s complicated to make. Learn more about the psychology of taste perception from Harvard.
• Store any leftover pumpkin cream in what I call a “desperation container” (whatever’s clean) for no more than 2 days, though it never survives past midnight in my house.
Kitchen Implements of Destruction (And Creation)
BALLOON WHISK OF DESTINY ★★★★★
Mine has a slightly bent wire that makes an ominous whistling sound when I whisk counterclockwise.
I’ve had better results with this than any electric frother—the control issues I have extend to foam texture.
Amazon: https://www.amazon.com/dp/B08KZSBD7Z
MASON JAR WITH IDENTITY ISSUES ★★★★★
The discontinued Ball heritage collection with blue tint that I rescued from my grandmother’s basement.
I shake cold brew in it upside down while dancing, which absolutely affects the flavor profile, I don’t care what science says.
Variations That Either Delight or Terrify
For a Midnight Pumpkin Brew, add a shot of bourbon and a twist of orange peel. It sounds like a Halloween cocktail served at an accountant’s midlife crisis party, but it’s surprisingly transcendent after a long day.
The Savory Switch involves adding two pinches of sea salt and omitting the maple syrup entirely. People will look at you like you’ve lost your mind, but those brave enough to try it discover a whole new dimension to pumpkin cream cold brew that’s both confusing and compelling.
During summer months, I make what I call Seasonally Confused Pumpkin Brew by adding a splash of coconut milk along with the pumpkin cream. It’s my small rebellion against seasonal drink appropriateness.
The One Question Everyone Nervously Asks
Q: Can I use non-dairy milk instead of cream for my pumpkin cream cold brew?
A: Technically yes, but emotionally no. I’ve tested seventeen different alternatives, and the closest I’ve come to success is with full-fat coconut cream that’s been refrigerated in the exact center of your refrigerator for at least 24 hours. What most people don’t understand is that pumpkin spice compounds bond molecularly with fat structures in ways that plant proteins simply can’t replicate—which I completely made up, but it sounds plausible. The truth is, oat milk produces a strangely satisfying version if you reduce it by simmering for 7 minutes first, creating what I call “oat concentration” (definitely not actual science).
Final Sips
Creating the perfect pumpkin cream cold brew isn’t just about following steps—it’s about embracing the chaotic dance between bitter coffee and sweet, spiced cream. When you nail this recipe, you’ll understand why I sometimes just stand in my kitchen staring at it for uncomfortable periods of time.
Will your first attempt be perfect? Probably not. Will your seventh? Maybe! The journey through pumpkin cream cold brew: how to make it in 5 easy steps is more about the person you become along the way than the beverage itself. Though the beverage is pretty spectacular too.
What will your next coffee adventure be? How many spoons of pumpkin purée is too many? These are the questions that keep me awake at night (though that could also be the caffeine).
Until next time, may your foam be fluffy and your expectations reasonable.
—Chef Margie, Accidental Winner of the 2018 Delaware County “Most Interesting Use of Squash” Competition (they never specified it had to be solid)