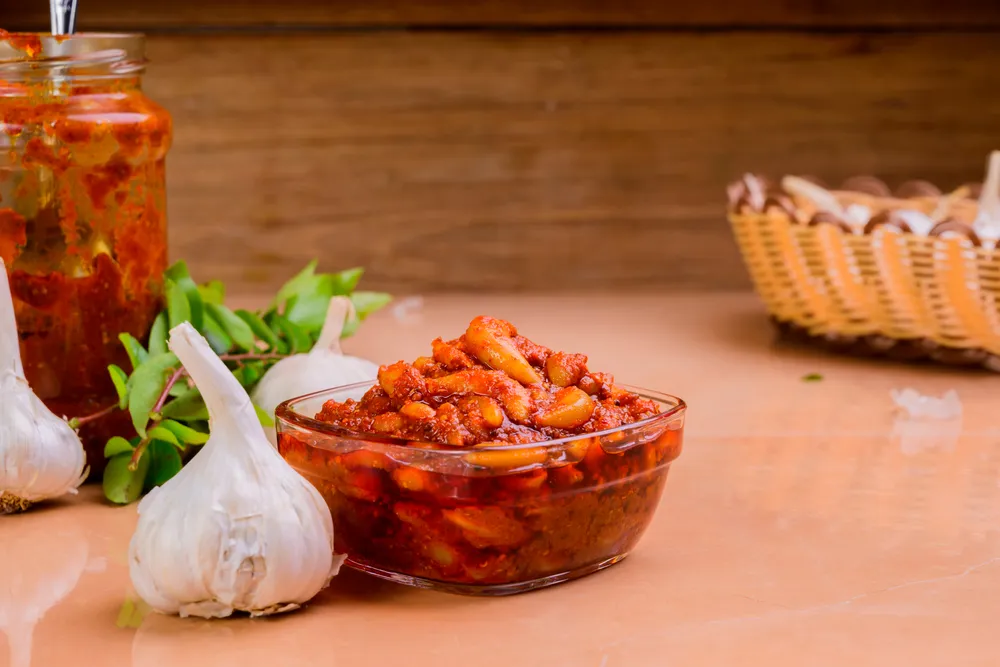
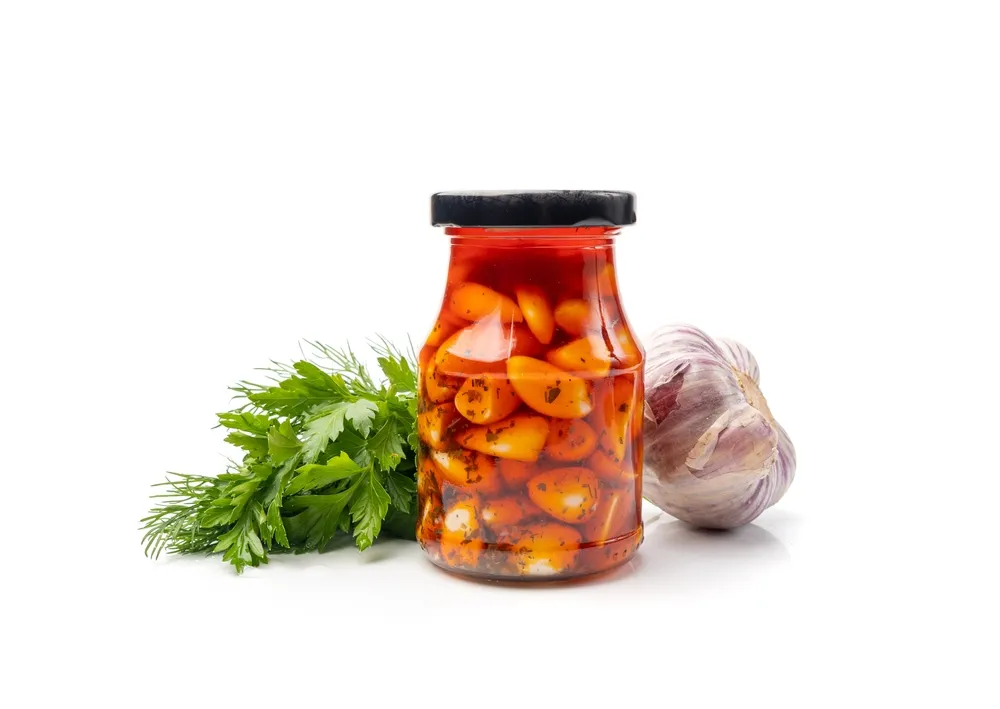
Why You’ll Love This Pickled Garlic Recipe
This recipe isn’t just a condiment; it’s a flavor-packed experience! Here’s why you should try it:
- Irresistible Flavor Fusion: The tanginess of vinegar, the heat from red pepper flakes, and the aromatic notes of thyme and bay leaves make this garlic a standout.
- Versatile Usage: From salads and sandwiches to pasta and antipasto platters, pickled garlic complements countless dishes.
- Simple and Quick: With just 10 minutes of prep time, you’ll create a gourmet-style condiment.
- Long-Lasting Magic: Stored properly, this pickled garlic can last weeks, and its flavor only gets better over time.
- TikTok-Worthy: Impress your friends and family with this trendy, visually appealing treat.

[wprm-recipe-jump]
Ingredients You’ll Need
To create this delightful pickled garlic, gather these simple yet flavorful ingredients:
- 1 cup peeled garlic cloves
- 1 cup white vinegar
- 1/2 cup water
- 1/4 cup sugar
- 1 tablespoon salt
- 1 teaspoon black peppercorns
- 1 teaspoon red pepper flakes
- 2 sprigs fresh thyme
- 2 bay leaves
Pro Tip: Use fresh, firm garlic cloves for the best texture and flavor. Pre-peeled garlic is a convenient option, but make sure it’s fresh!
Step-by-Step Instructions
Step 1: Prepare the Pickling Liquid
In a medium saucepan, combine the white vinegar, water, sugar, salt, black peppercorns, red pepper flakes, thyme sprigs, and bay leaves. Stir the mixture well and bring it to a boil over medium-high heat.
Step 2: Simmer the Garlic
Once the pickling liquid reaches a rolling boil, add the peeled garlic cloves. Reduce the heat to a simmer and cook for 5 minutes, ensuring the garlic absorbs the tangy brine.
Step 3: Cool the Mixture
Remove the saucepan from heat and let the mixture cool to room temperature. This cooling process allows the garlic to soak in the pickling flavors.
Step 4: Transfer to a Jar
Using a clean, airtight glass jar, transfer the garlic cloves and the liquid. Ensure the cloves are fully submerged in the brine.
Step 5: Refrigerate and Wait
Seal the jar tightly and refrigerate for at least 24 hours to let the flavors develop. For the best taste, wait 48–72 hours.
Tips and Substitutions
Tips for Success
- Sterilize Your Jar: Boil the jar and lid in water for a few minutes to prevent contamination and extend shelf life.
- Customize the Heat: For a milder version, reduce the red pepper flakes or omit them altogether. Love heat? Add more!
- Ensure Full Submersion: Garlic cloves must remain submerged in the brine to avoid spoilage.
Substitutions
- No Fresh Thyme? Use dried thyme (½ teaspoon) as a substitute.
- Different Vinegar: Apple cider vinegar or rice vinegar adds a unique flavor twist.
- Sweeteners: Replace sugar with honey or a sugar substitute for a different sweetness profile.
Recipe Variations
- Lemon-Infused Garlic: Add lemon zest or a few slices of lemon to the brine for a citrusy kick.
- Herb Medley: Incorporate fresh rosemary or dill alongside thyme for added depth.
- Asian-Inspired: Use rice vinegar and add a dash of soy sauce and sesame seeds.
- Spicy Lovers’ Edition: Mix in sliced chili peppers or a dash of sriracha for extra heat.
Nutritional Information
Here’s what you’re getting in each serving of this pickled garlic:
- Calories: Approximately 10 kcal per serving
- Carbohydrates: 2 g
- Protein: <1 g
- Fat: 0 g
- Sodium: ~180 mg
Dietary Benefits:
- Naturally gluten-free and vegan
- Low-calorie condiment
- Garlic is packed with antioxidants and has potential heart health benefits.
Storage and Serving Suggestions
Storage Tips
- Store your pickled garlic in the refrigerator. It’s best enjoyed within 2–3 weeks, though it can last longer if stored properly.
- Always use a clean utensil when retrieving garlic from the jar to maintain freshness.
Serving Ideas
- Snack Attack: Enjoy it straight from the jar for a bold, zesty treat.
- Sandwich Spread: Mash a few cloves and spread them on your favorite sandwich or wrap.
- Salad Upgrade: Toss whole cloves into salads for an extra punch of flavor.
- Charcuterie Star: Include them in your next charcuterie board for a gourmet touch.
- Pasta Perfection: Mince and stir into pasta for a tangy garlic kick.
Frequently Asked Questions (FAQs)
1. Can I use pre-minced garlic for this recipe?
Fresh, whole garlic cloves are essential for the texture and integrity of pickled garlic. Pre-minced garlic won’t yield the same result.
2. How long should I wait before eating the pickled garlic?
The garlic is ready after 24 hours, but waiting 48–72 hours allows the flavors to fully develop.
3. Can I reuse the brine?
Yes! Use the brine to pickle other vegetables like onions or carrots. However, avoid reusing it for garlic due to potential contamination.
4. Is pickled garlic safe to eat raw?
Absolutely! The pickling process mellows the raw garlic’s harshness, making it tangy and flavorful.
5. How can I make this recipe sugar-free?
Substitute the sugar with a sugar alternative like stevia or monk fruit sweetener.
Related Recipes
Love this pickled garlic? Here are a few other recipes you might enjoy:
- Jalapeño Bacon Jam: The Sweet and Spicy Condiment You Need
- Canned Pears in Light Syrup Recipe
- Pineapple Habanero Pepper Jelly Recipe
Conclusion
Zesty, tangy, and oh-so-delicious, this Pickled Garlic TikTok Recipe is a game-changer for garlic lovers everywhere. With just a few simple steps, you’ll create a condiment that’s as trendy as it is timeless. Whether you’re hosting a dinner party, spicing up your lunch, or simply craving a bold burst of flavor, this pickled garlic is bound to impress your taste buds and elevate your dishes.
The versatility of this recipe is what makes it so special—it’s not just a snack but also a fantastic addition to salads, sandwiches, charcuterie boards, and even a sidekick for your favorite savory meals. The crisp, tangy bite of pickled garlic adds an unexpected yet delightful twist to your culinary adventures. Plus, the recipe is customizable, so you can tweak the spices to suit your palate and experiment with different flavor profiles.
Pickling is more than just a cooking technique; it’s a creative journey that lets you explore new tastes and textures. By making this pickled garlic, you’re not only embracing a viral trend but also crafting a flavorful ingredient that enhances everyday cooking. Imagine the joy of surprising your friends and family with something so unique yet easy to make—a perfect conversation starter and a surefire hit at any gathering.
So, what are you waiting for? Gather your ingredients, follow the recipe, and let the pickling magic begin. Embrace the trend, make it your own, and relish in the goodness you’ve created. Don’t forget to share your creations in the comments below or tag us on social media—we love seeing your delicious experiments come to life. Happy pickling, and may your kitchen always be filled with delightful, zesty flavors!
Print
Pickled Garlic Recipe: Tangy, Spicy, and Easy to Make
- Total Time: 15 minutes
- Diet: Vegan
Description
Pickled Garlic is a tangy, spicy, and savory condiment that’s easy to make at home. Perfect for adding bold flavor to sandwiches, salads, charcuterie boards, or as a zesty snack straight from the jar, this recipe is a viral favorite and a must-try for garlic lovers.
Ingredients
Ingredients
- 1 cup peeled garlic cloves
- 1 cup white vinegar
- 1/2 cup water
- 1/4 cup sugar
- 1 tablespoon salt
- 1 teaspoon black peppercorns
- 1 teaspoon red pepper flakes
- 2 sprigs fresh thyme
- 2 bay leaves
Instructions
- Prepare the Pickling Liquid
- In a medium saucepan, combine vinegar, water, sugar, salt, black peppercorns, red pepper flakes, thyme, and bay leaves. Bring to a boil.
- Simmer the Garlic
- Add peeled garlic cloves and simmer for 5 minutes.
- Cool the Mixture
- Remove from heat and let cool to room temperature.
- Transfer to a Jar
- Place garlic and liquid into a clean, airtight jar. Ensure garlic is fully submerged.
- Refrigerate and Wait
- Seal and refrigerate for at least 24 hours, or ideally 48–72 hours for best flavor.
Notes
- Sterilize Jars: Boil jars and lids to extend shelf life.
- Adjust Spice Level: Add or reduce red pepper flakes to taste.
- Storage: Keep refrigerated and consume within 2–3 weeks.
- Prep Time: 10 minutes
- Cook Time: 5 minutes
- Category: Snack
- Method: Pickling
- Cuisine: Global
Nutrition
- Serving Size: 1 clove
- Calories: 10 kcal
- Sugar: 1 g
- Sodium: 180 mg
- Fat: 0 g
- Saturated Fat: 0 g
- Unsaturated Fat: 0 g
- Trans Fat: 0 g
- Carbohydrates: 2 g
- Fiber: 0 g
- Protein: <1 g
- Cholesterol: 0 mg
